Installing Jekyll
April 15, 2020
Tagged with: github pages, jekyll, bundle, gem
964 words; 4 minutes to read.
GitHub Pages is a free service provided by GitHub to host static websites. It takes HTML, CSS, and JavaScript files straight from a repository on GitHub, optionally runs the files through a build process, and publishes a website.
Once you have a website hosted on GitHub Pages, see Welcome GitHub Pages and Jekyll, it publishes any static files that are pushed to the website repository. By default, GitHub Pages uses Jekyll to build the site.
This is straightforward and convenient, especially when adding new content to an established site. However, it can be frustrating when creating a new, or restyling an existing, website as there is no direct control over when changes to the site are built and published. Typically GitHub Pages will publish the changes in a matter of minutes, if not immediately. But when making multiple incremental changes to a site, waiting for them to be published will inevitably delay the development process.
A better solution is to make and test the changes locally, only pushing them to the repository to be published once they have been tested and approved. As well as reflecting the changes to the local site immediately, this also has the benefit of leaving the live website unchanged until the changes have been checked before being pushed to the repository.
To host a GitHub Pages compatible website locally you will need to install Jekyll on your machine. Many tutorials are available online describing the Jekyll installation process, including the official Jekyll site.
In this post I describe the steps I took to install a working Jekyll environment on my Apple iMac, which, at the time of installation, was running macOS Catalina 10.15.4.
The pre-requisites for Jekyll are:
- Command Line Tools
These can be installed from a Terminal window with the command:
xcode-select --install
- Ruby v2.5.0 or later
This can be installed via Homebrew with the Terminal command:
brew install ruby
Ensure the brew installed Ruby is in the Terminal shell path by adding the following to the shell config e.g. .zshrc:
export PATH="/usr/local/opt/ruby/bin:$PATH"
Check the brew Ruby installation with these Terminal commands:
    which ruby
    > /usr/local/opt/ruby/bin/ruby

    ruby -v
    > ruby 2.7.1p83 (2020-03-31 revision a0c7c23c9c) [x86_64-darwin19]
With the pre-requisites installed, I performed a Local install of Bundler and Jekyll with the Terminal command:
gem install --user-install bundler jekyll
The gem environment was checked with the Terminal command:
    gem env
    >
    - GEM PATHS:
        - /usr/local/lib/ruby/gems/2.7.0
        - /Users/Gavin/.gem/ruby/2.7.0
        - /usr/local/Cellar/ruby/2.7.1/lib/ruby/gems/2.7.0
The GEM PATH was added to the Terminal shell path by adding the following to the shell config e.g. .zshrc:
export PATH="$HOME/.gem/ruby/2.7.0/bin:$PATH"
The Bundle and Jekyll installations were checked with these Terminal commands:
    which bundle
    > /Users/Gavin/.gem/ruby/2.7.0/bin/bundle

    bundle -v
    > Bundler version 2.1.4

    which jekyll
    > /Users/Gavin/.gem/ruby/2.7.0/bin/jekyll

    jekyll -v
    > jekyll 4.0.0
Jekyll and Bundle are now installed ready for local website building and hosting.
With Jekyll installed, building and serving the local website depends on whether a Gemfile is being used.
- If a Gemfile is being used
From a Terminal window in the root folder of the website, run the command:
bundle install
This will ensure the required gems are installed. You only need to do this once, or when the gems in the Gemfile change. From then on, to build and serve the website, use the command:
bundle exec jekyll serve
- If a Gemfile is not being used
From a Terminal window in the root folder of the website, build and serve the website using the command:
jekyll serve
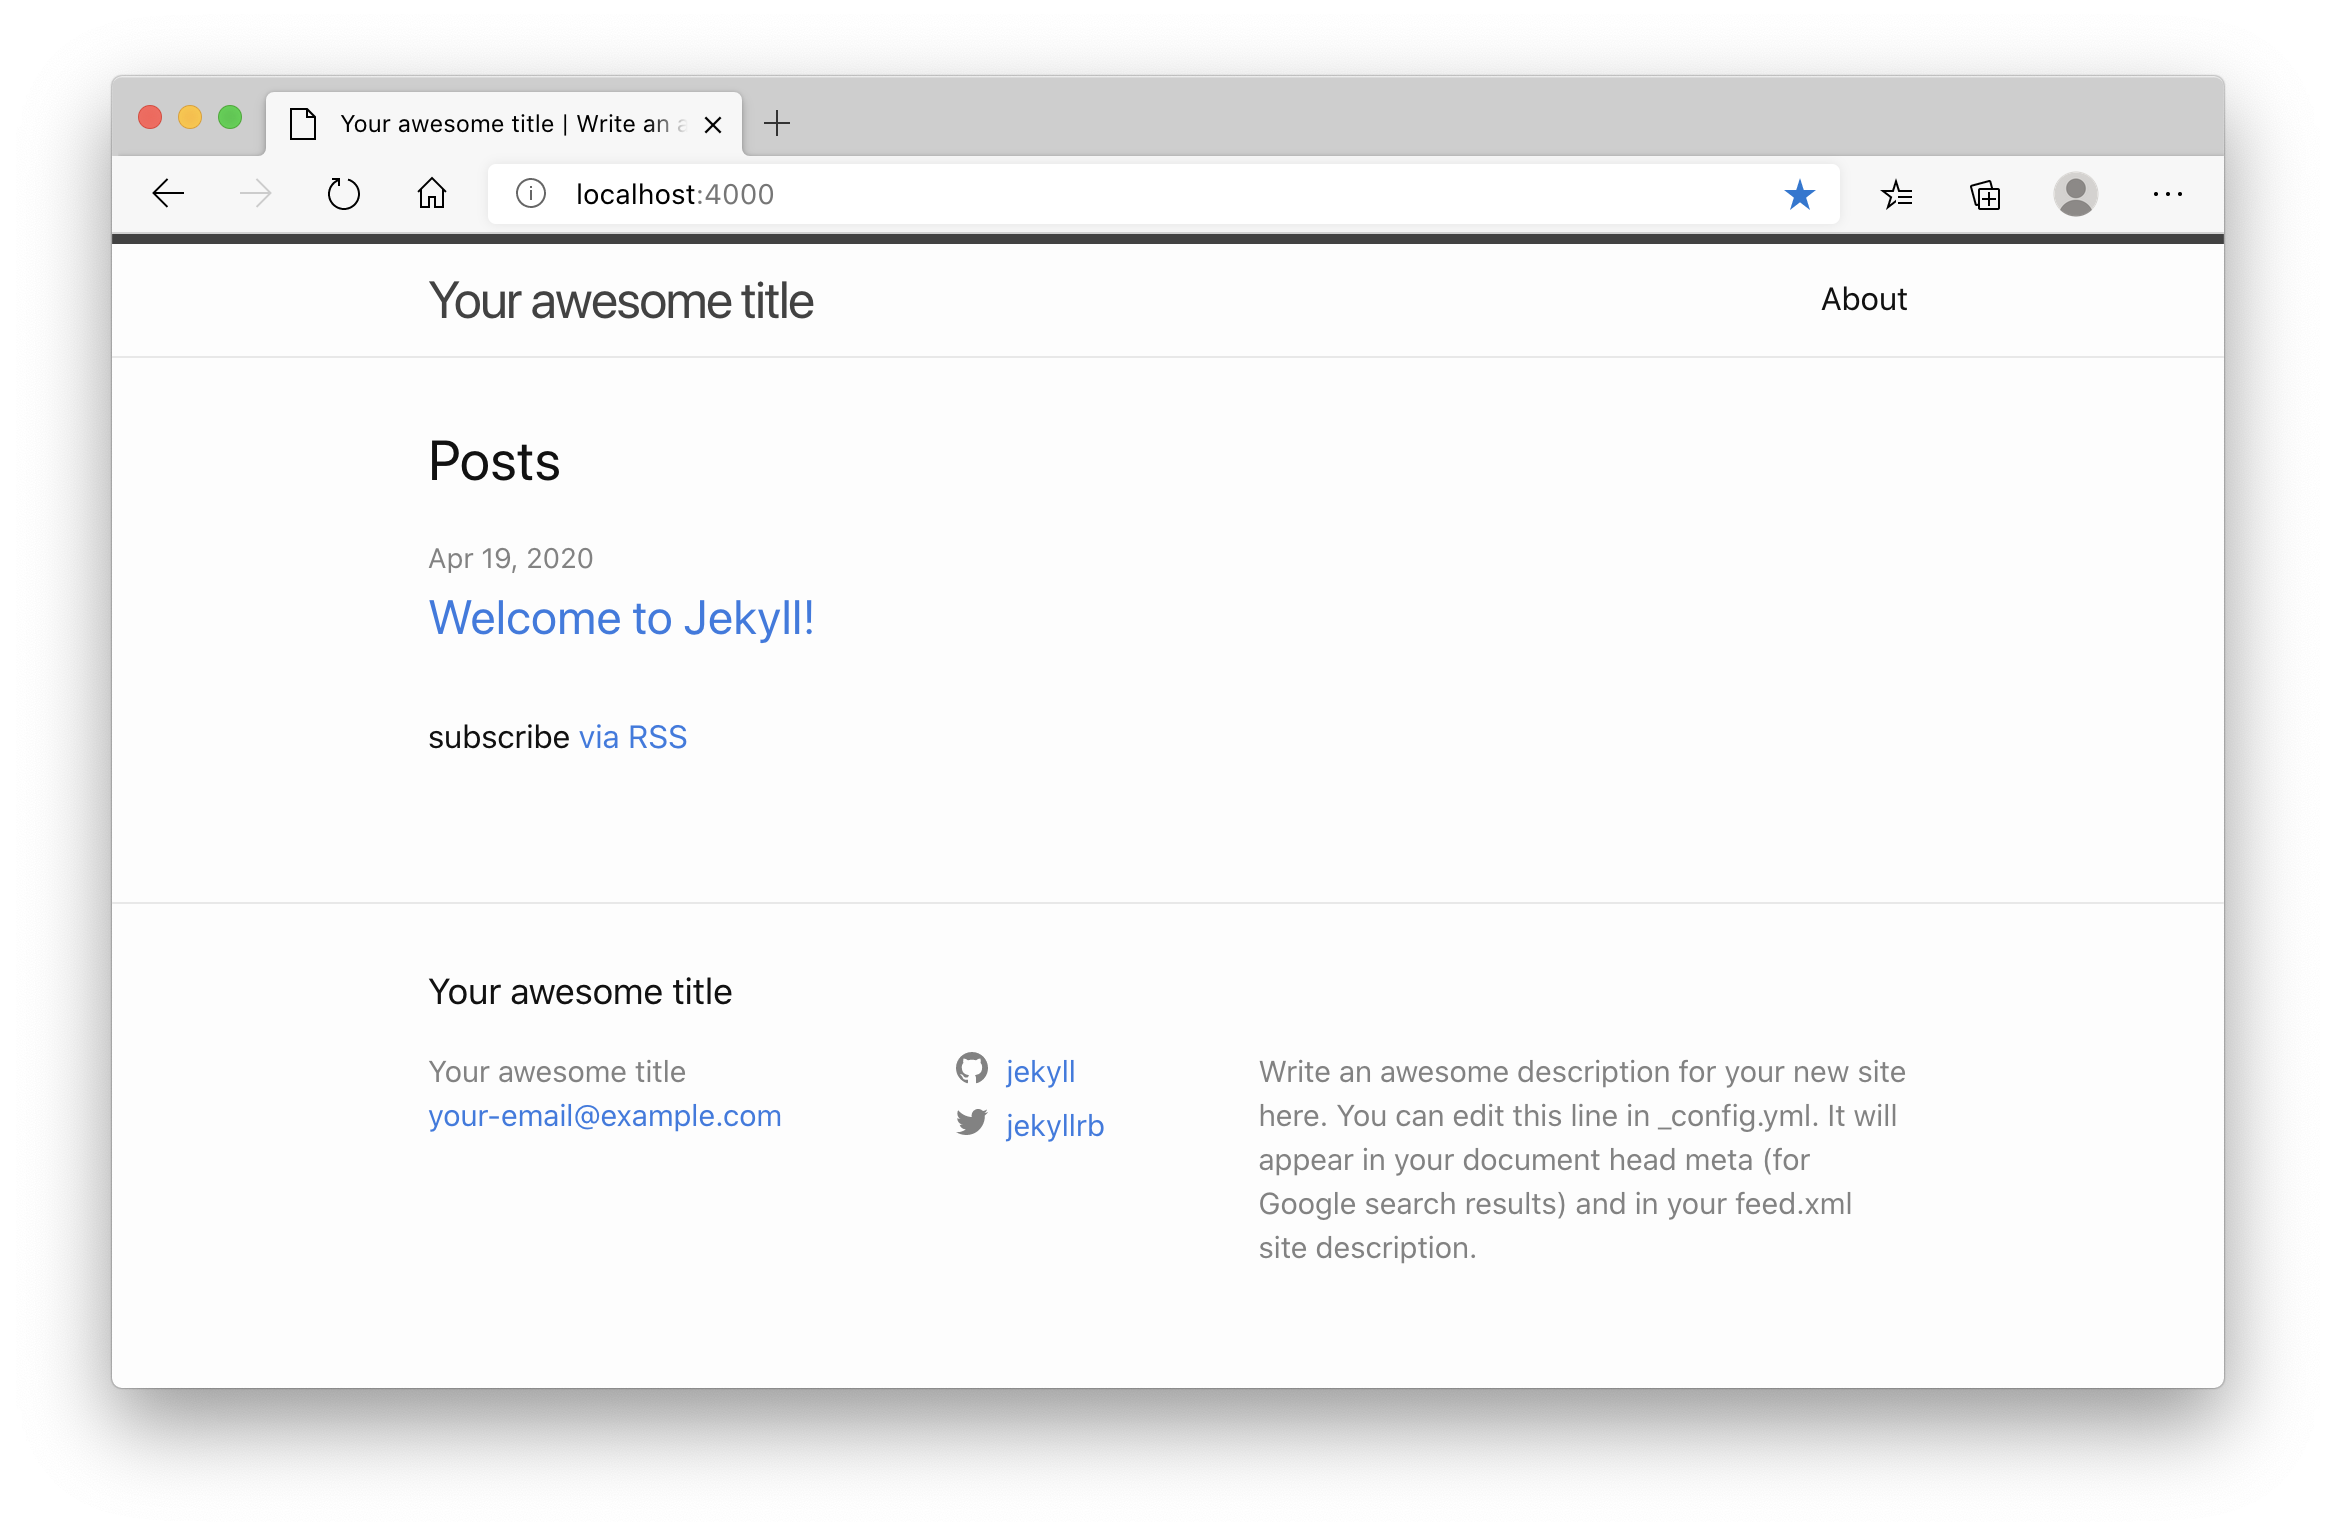
Once the website is being served locally, it is accessed using the address http://127.0.0.1:4000: 
Now, any changes made to the site (except edits to _config.yml) trigger the site to rebuild and the local development server to refresh.